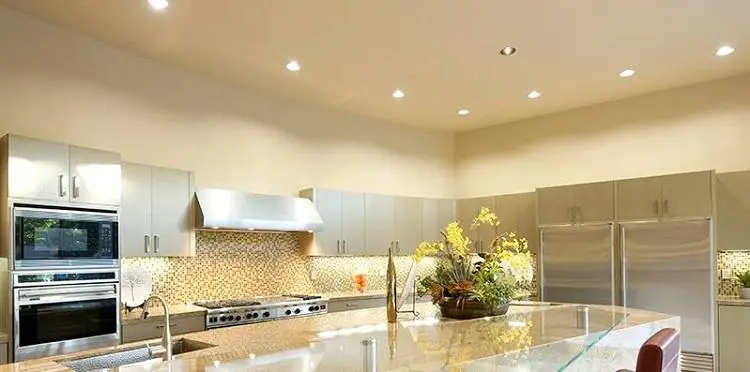
Modern homes with great rooms that have atriums or vaulted ceilings benefit from monorail track lights. Pendant lights work very well over tables. But when remodeling an older home with low ceilings, a recessed can is an interior designer’s best friend.
At this point, it’s a good idea to have a basic idea of the way residential home wiring works.
Note: If the attic is insulated (which it should be) be sure to buy IC (Insulation Compatible) cans. Non-IC fixtures will overheat and are a fire hazard.
Tools Needed for this Remodeling Project
- Stud finder
- Voltage tester
- Drill with a paddle bit
- Screwdriver
- Ladder
- Wire strippers
- Klien Lineman’s pliers
- Safety glasses
- Drywall saw
- Pocket knife

Lay Out Lighting Locations and Cut the Holes
- Decide where the can or cans will be and use the stud finder to ensure that the complete can fixture will be between ceiling joists.
- Use a paper or cardboard template to mark the holes. One should come packaged with the light kit.
- Cut out the hole or holes with the drywall saw. Be sure to wear safety glasses to keep the dust out and be prepared for some attic insulation to fall out.
- Use the drill with the paddle bit to drill through a ceiling joist. This hole is for the electrical wire to pass through to keep it from binding.
Prepare the Electrical Connections
- Find a circuit to tie into, preferably in the attic, and make sure the circuit breaker is off. Verify this with the voltage tester.
- Tie into the circuit with your wire. Check your local electrical building code to see what type of wire is applicable. In most municipalities this will be nonmetallic (NM) cable.
- Run the cable through the hole in the ceiling joist, allowing 16 inches (40.64 centimeters) to hang through the hole.
- Strip 6 inches of the end of the cable by pocket knife. You’ll find suitable best pocket knife here.
- Remove the cover from the fixture junction box.
- Twist off a knockout, slide the cable in, and clamp it.
- Use wire nuts to connect the wires, black to black, white to white, and ground to ground.
Install the Light Fixture
- There will be a mounting clip on each side of the fixture. Push them into the can and push the junction box and can into the hole until the flange is flush with the ceiling.
- Use the screwdriver to push the mounting clips up and out. This will clamp the can to the drywall.
- If the lighting unit has a socket that uses 2 spring clips to attach to the trim, slip them into the notches and secure it.
- Install the bulb (incandescent, compact fluorescent, LED, spot, etc.) and any remaining trim.